Part 67: Ancient Path VII - Ancient Tomb
Update 67: Ancient Path VII: Ancient Tomb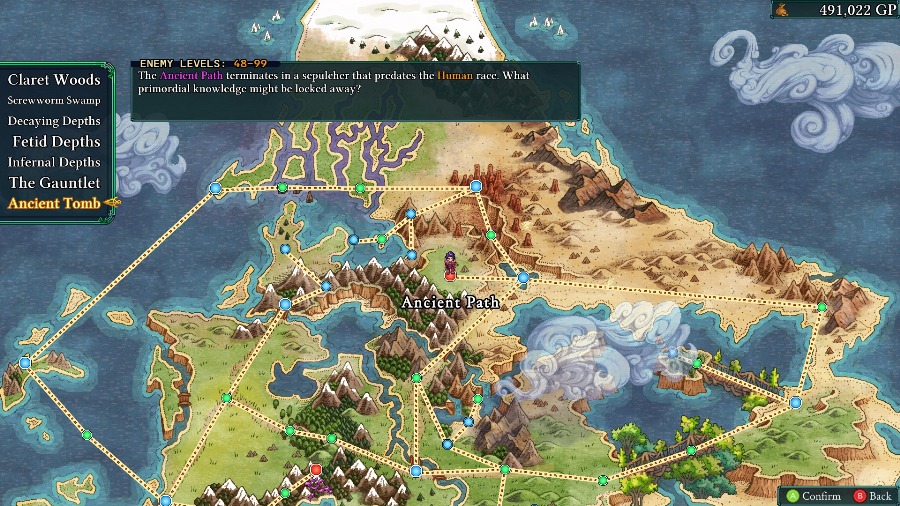
Hello and welcome back! Last time we fought our way through a ton of Wyrms and Quetzalcoatl casts to finish the penultimate stage of the Ancient Path. This time we’ll be going in to the final area, the Ancient Tomb.
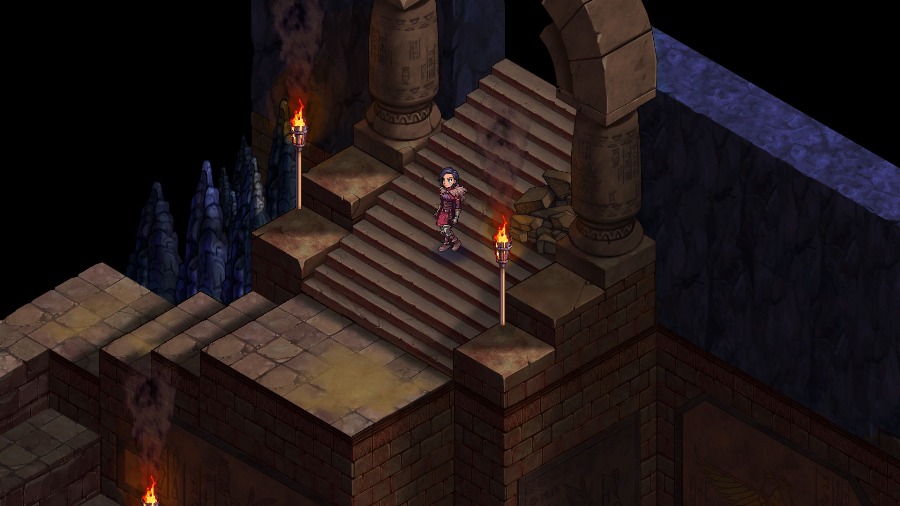
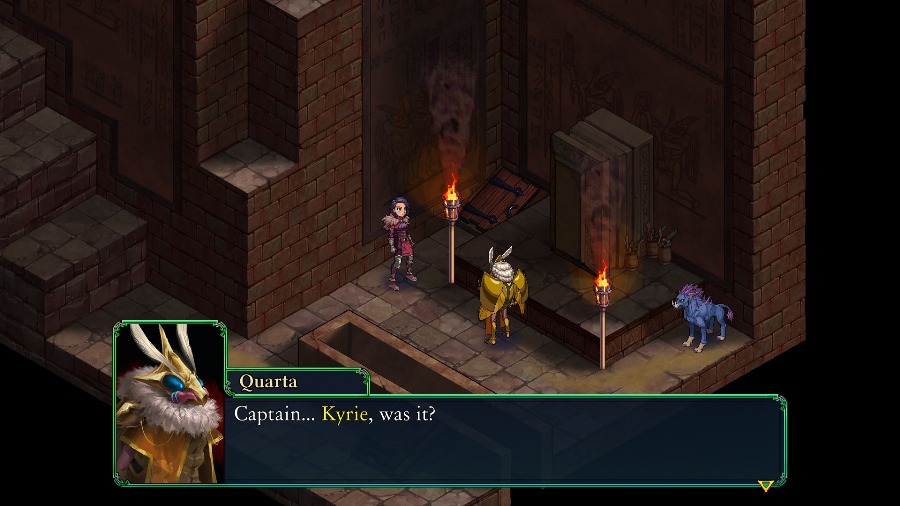
Kyrie walks in, down the stairs, and looks around.
The camera pans down a bit.
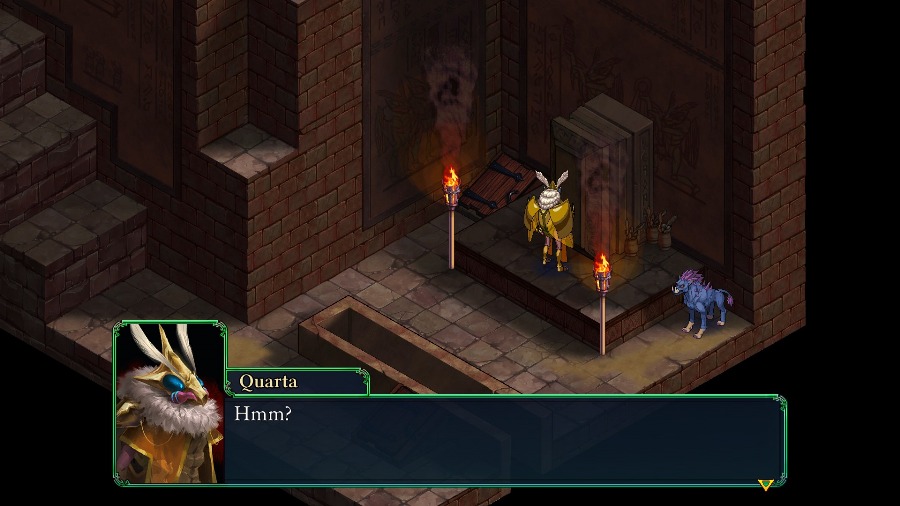
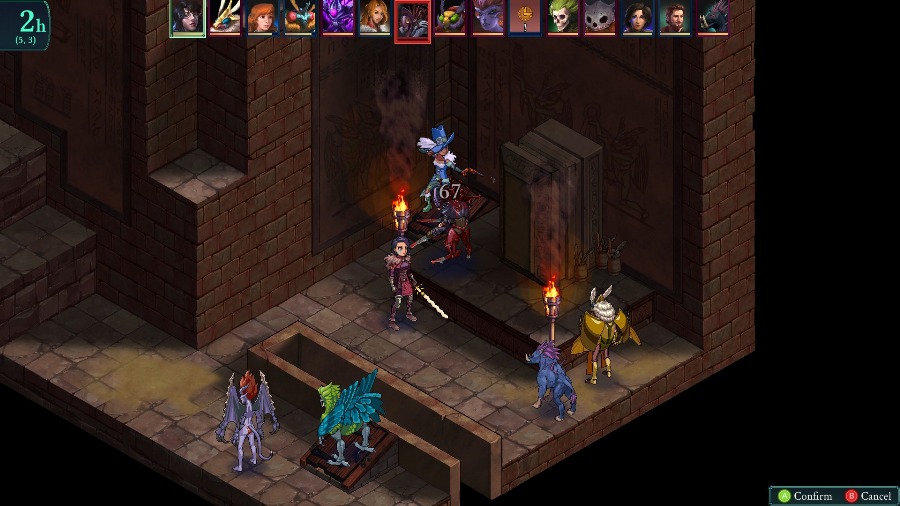
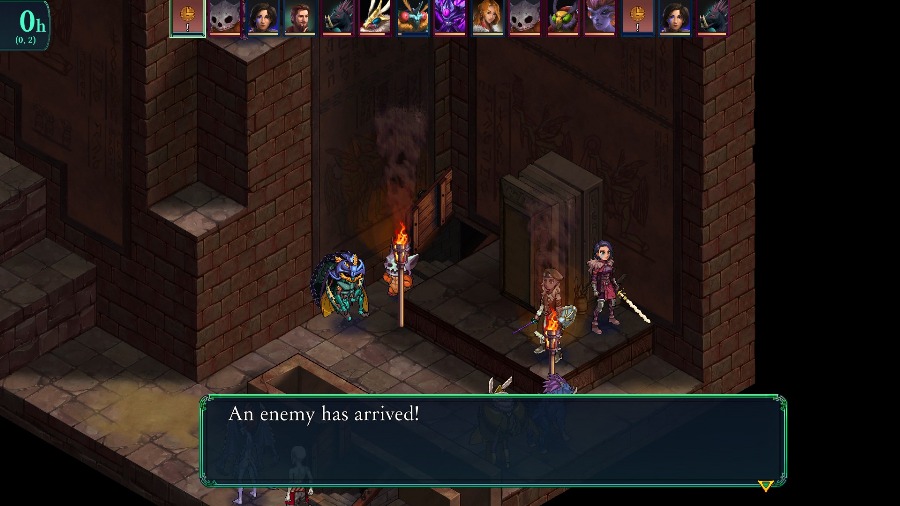
To reveal the Immortal Quarta studying one of the Sarcophagi.
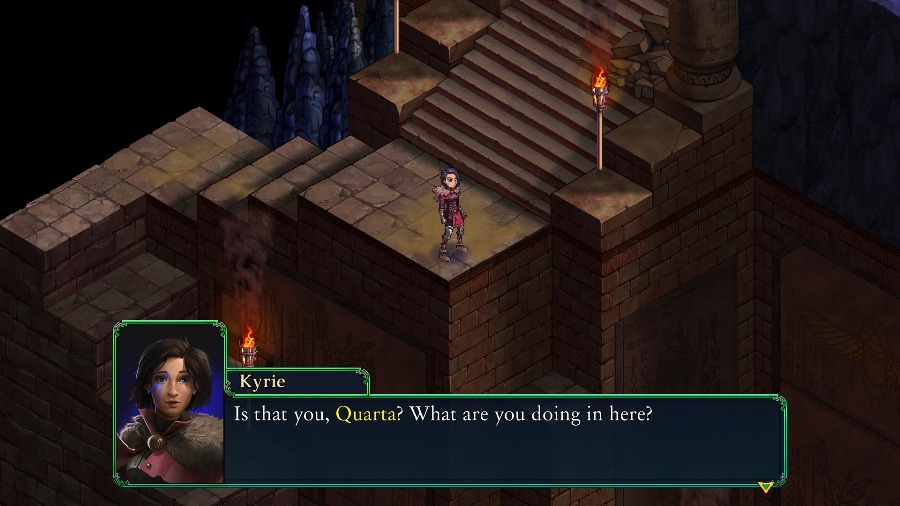
 Oh, visitors! How delightful!
Kyrie then pops down the stairs to talk with Quarta face to face.
 As for what I’m doing here, research, of course. The scientific accumulation of knowledge and wisdom.
 This is certainly a weird location for your research. Is it safe in here? We’re following up on rumors of undead and demons plaguing the area, rumors which have already proven to be accurate. I thought myself safe here before, but this news is troubling. Not to worry. We can get you out of here safely, if you wish. The remnants of the Council will be glad to hear you’re alive and well. Hmm, no, no. That simply won’t do. I am in the midst of my studies. A breakthrough -possibly several breakthroughs- are imminent! With Primus’s silly schemes setting our Immortal status at risk, I had to find another source of eternal life. … I’ve been weaving potent necromancy with the last strands of the dark energy I harbor as an Immortal. And in combination with the ancient knowledge stored in this Bzil tomb… True immortality is now finally within reach!
 I… see. I need to create another handful of undead and summon a few more demons, to fuse their energy. Then a few more tests. But I must say, it’s looking positively promising! I gather you’re the one responsible for the undead and demons attacking the nearby town? Hmm? I don’t know anything about that. I just summon them for my experiments. What they do with themselves afterwards is really none of my affair. How callous. Callous? How so? My research is far more important than… well, whatever is happening out there with my discarded creatures.
 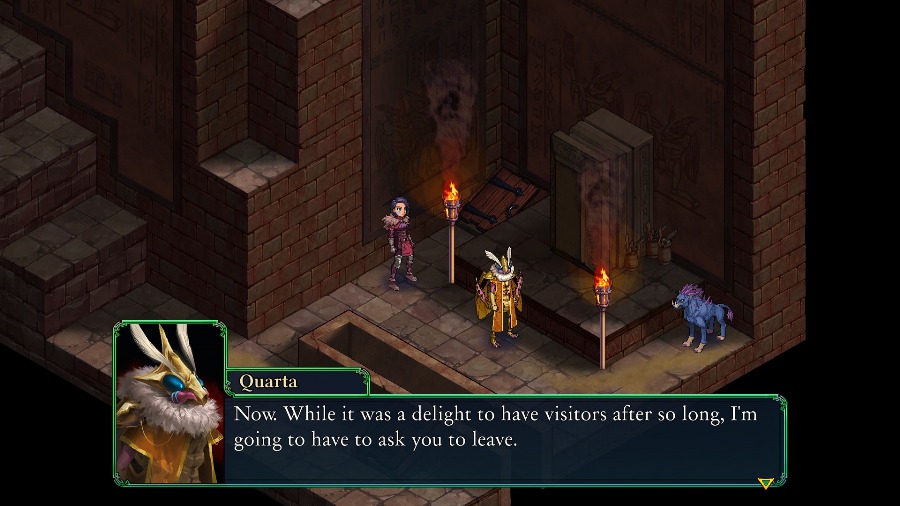 You’re starting to bore me, and I have work to do. So much work! I’m sorry, Quarta, but I can’t let you continue with these experiments. It seems we actually agree on something after all! I wasn’t really going to let you walk out of here, you know, a whole group of high-quality specimens. And now seems like a good time to test my new powers. Shall we?
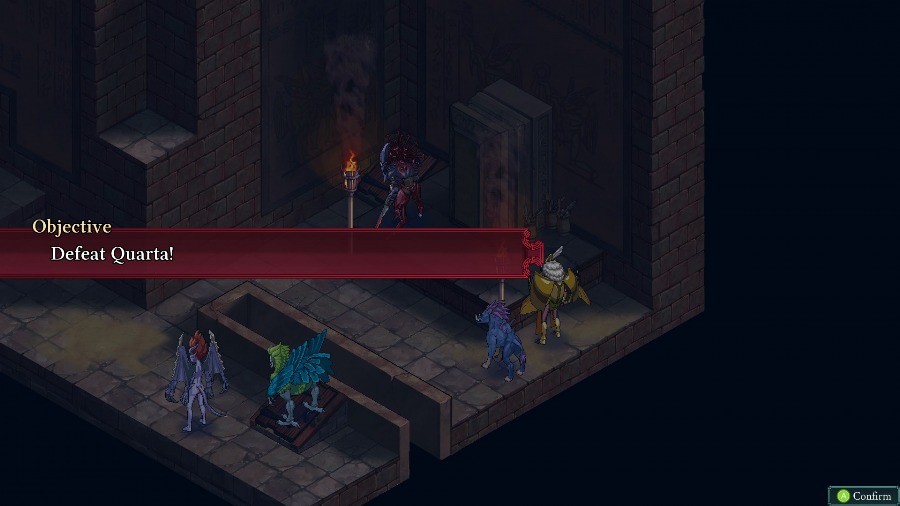
And with that, it’s suddenly time to fight. The goal of this one is just to defeat Quarta.
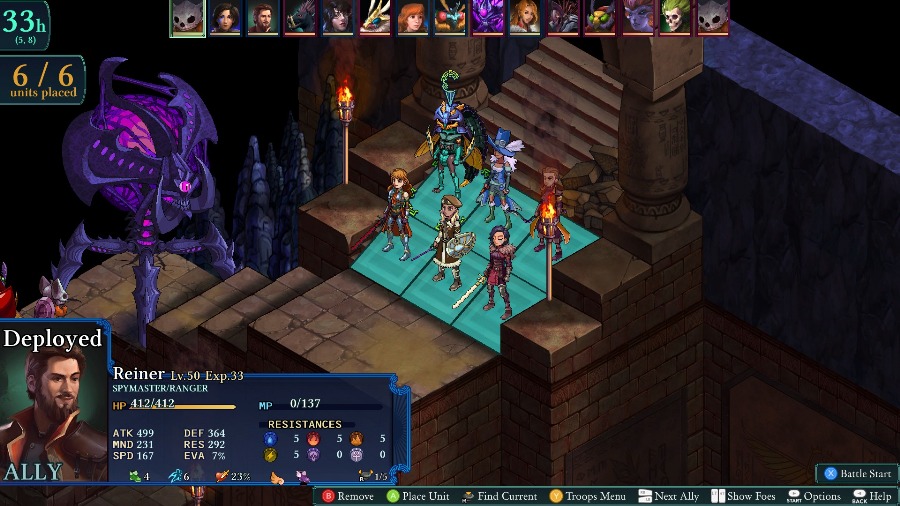
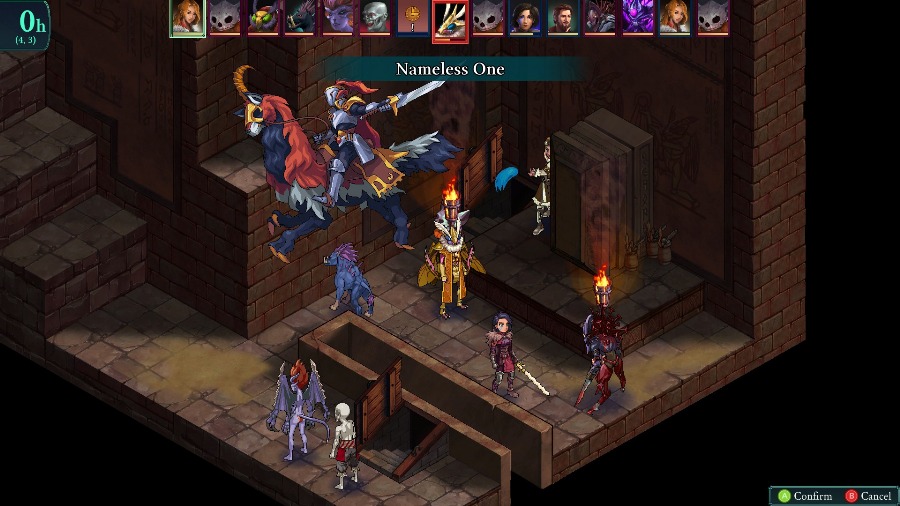
On our side, we have Bzaro, Azure, Reiner, Anadine, Sophia, and Kyrie. Each of them either flies, teleports, or has at least 30 jump to make it down the big drop to the right.
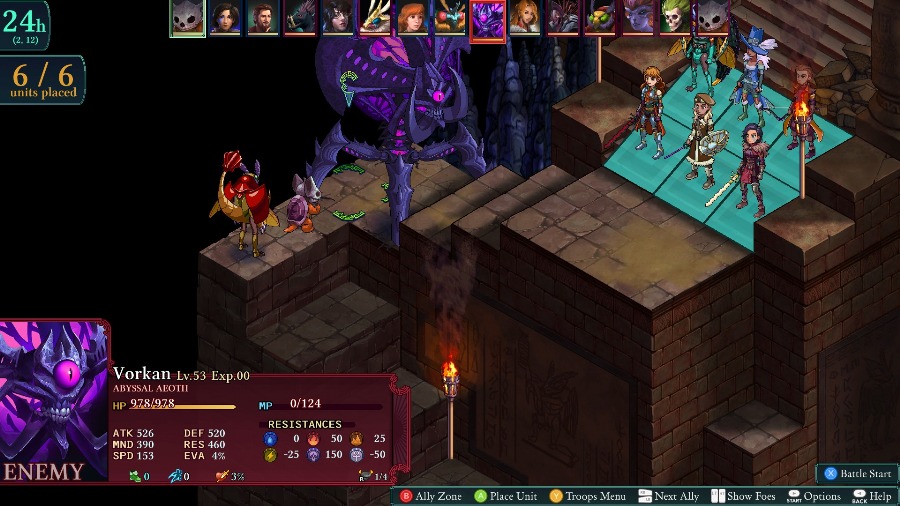
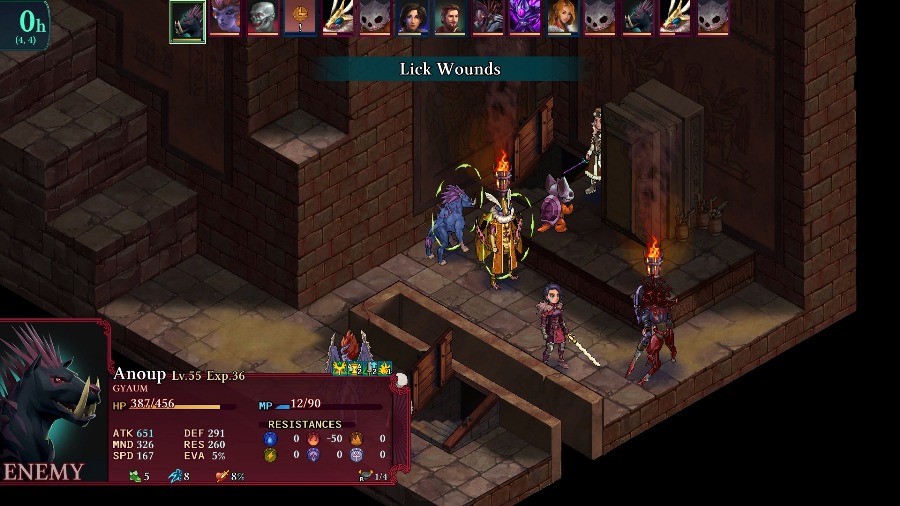
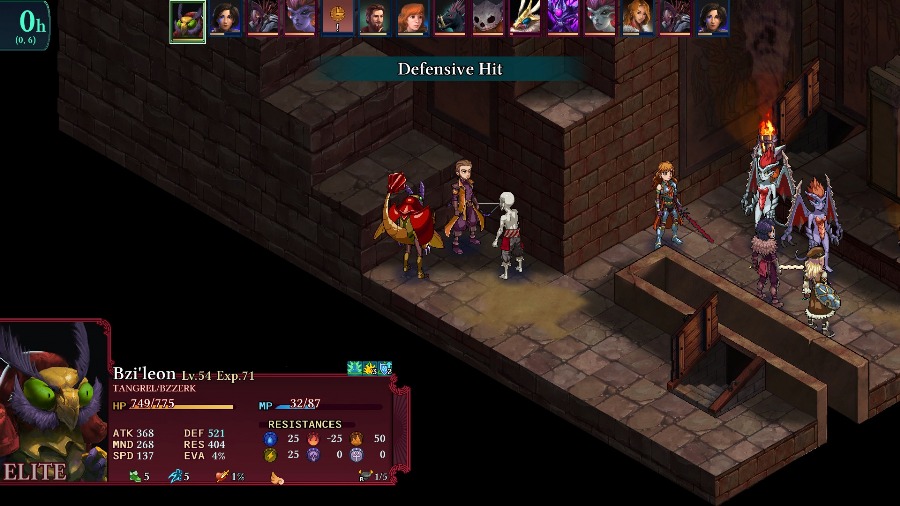
Against us we have an Abyssal Aeoth, an Undead Kawa, a Tangrel Bzil,
A Domincubus, a Harvester, an Undead Seireen, and a Gyaum. Many of these enemies also have innate rebirth, so it’s an absolute pain to try and kill them.
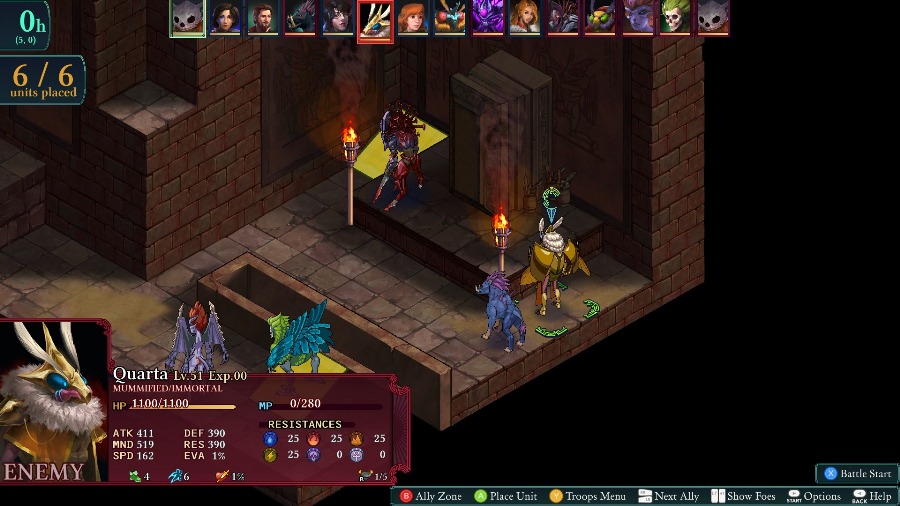
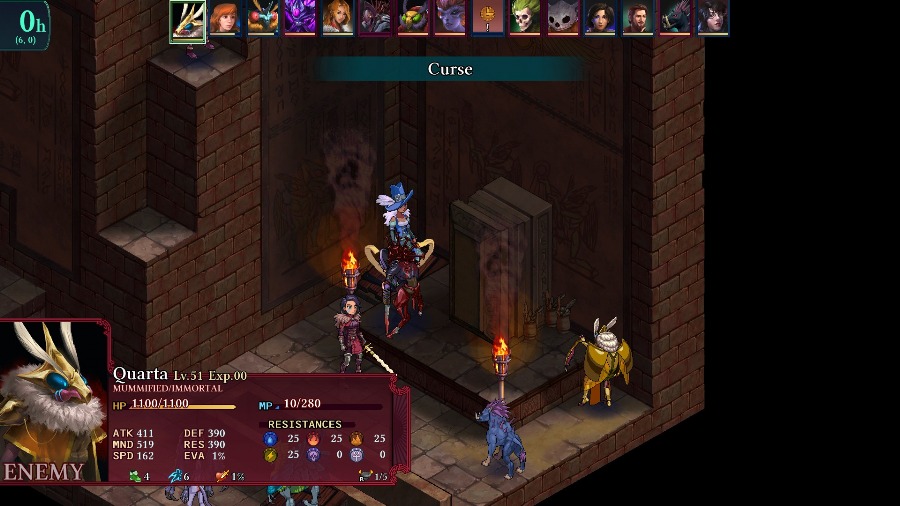
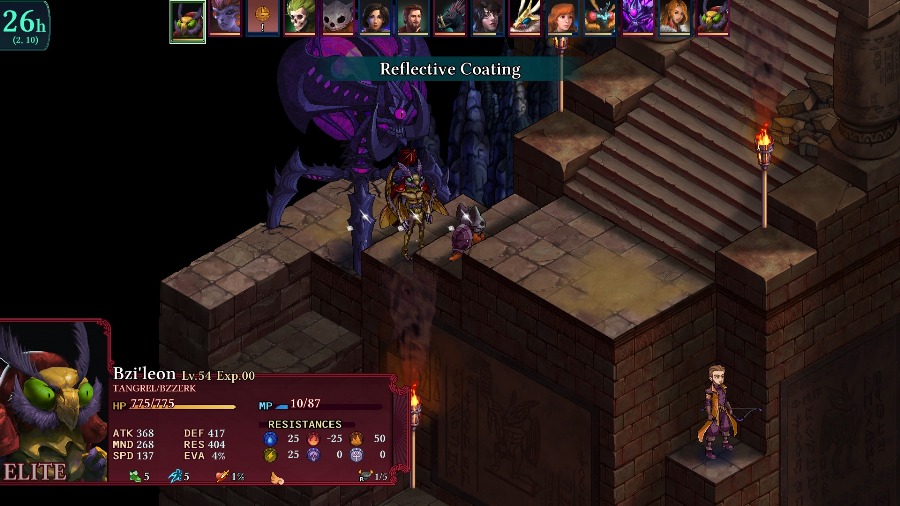
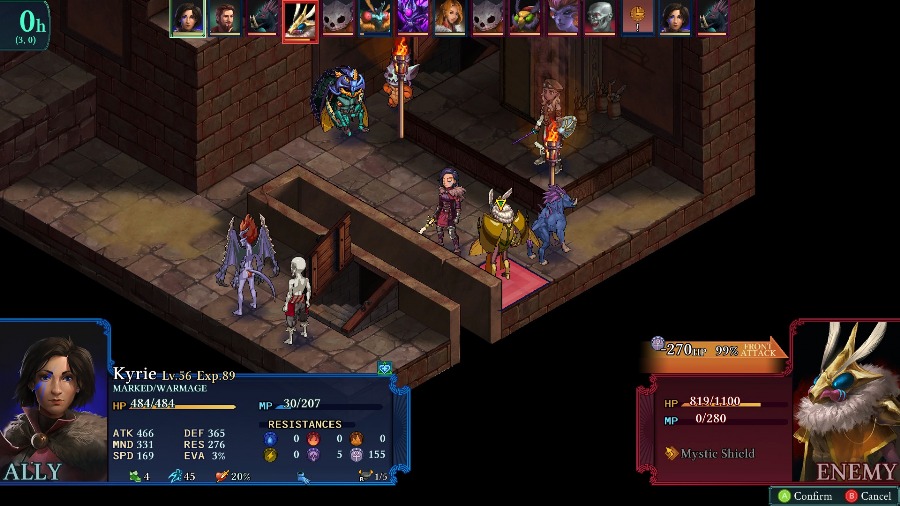
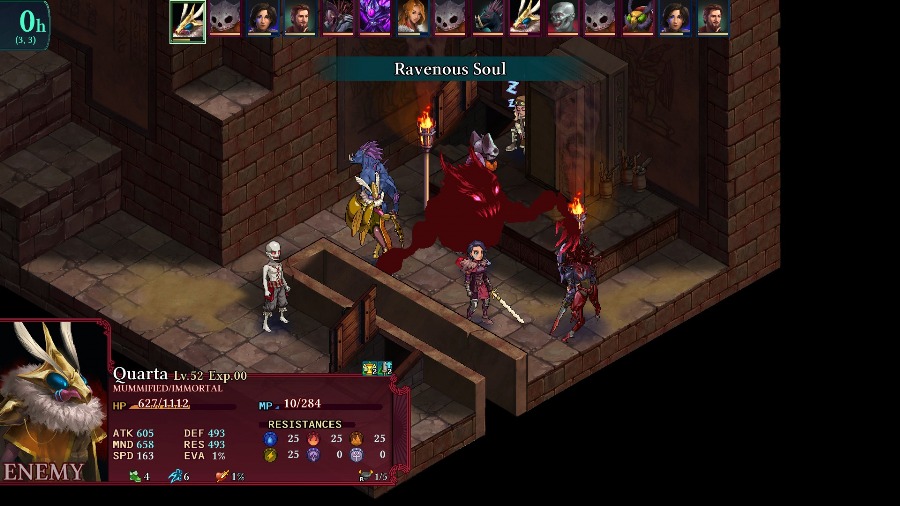
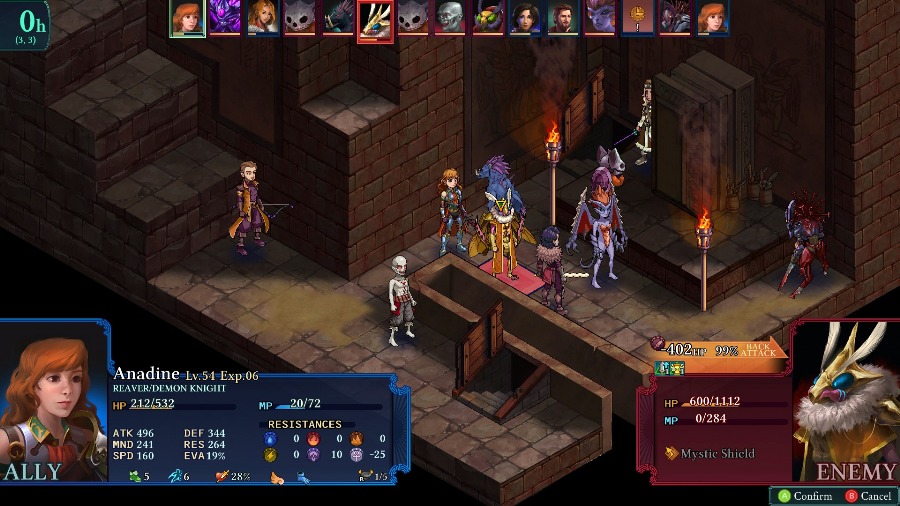
And then Quarta herself. She has a semi-unique class of Mummified as well as the expected Immortal class. She has 25% resistance to the 4 basic elements, good stats with a very, very high MND stat.
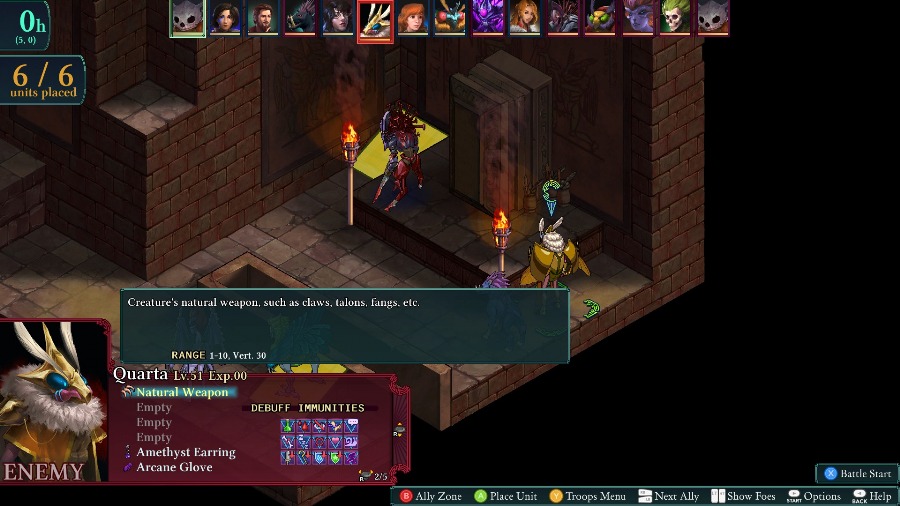
Additinally, she has full immunity to all debuffs and a basic attack with the same range as the Infinity and enough vertical range to hit anywhere on the map from the ground.

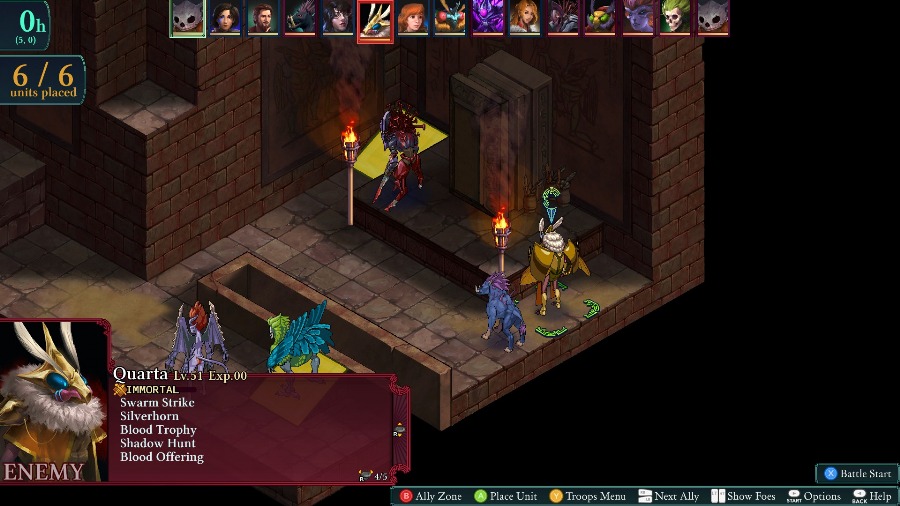
Quarta’s active abilities are all interesting. Her Immortal class gives her the top abilities of a bunch of the monster classes, as well as the ability to summon demons. Meanwhile the Mummified class gives her the ability to pretty reliably charm and weaken my units, use random Vessel skills with no friendly fire, absorb health and MP from a target, and then do the same sacrifice that The Maw can do to buff itself.
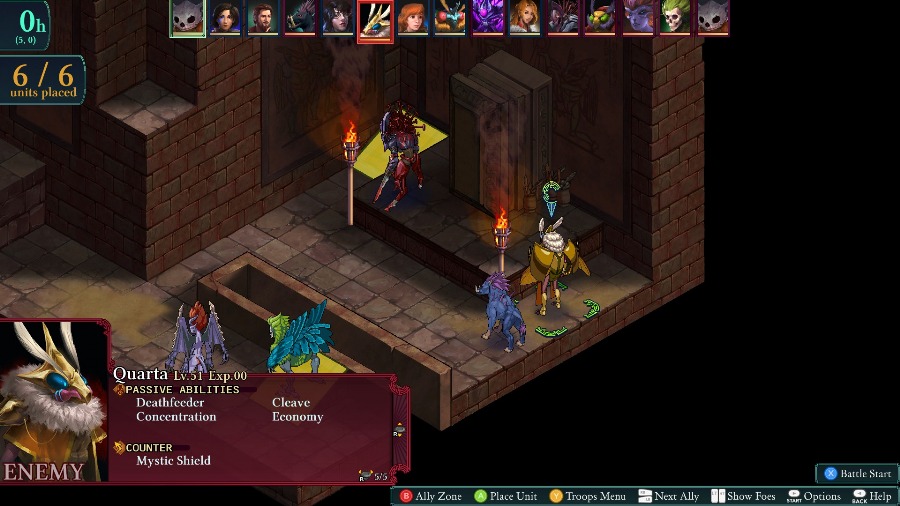
And finally, she has the ever annoying Mystic Shield reaction to keep her alive, Cleave and Economy, as well as Concentration to make her 20% more accurate and a new passive called Deathfeeder, which gives her a .05x bonus to all stats for each character that dies (maxing out at 0.3x and counts casualties on both sides).
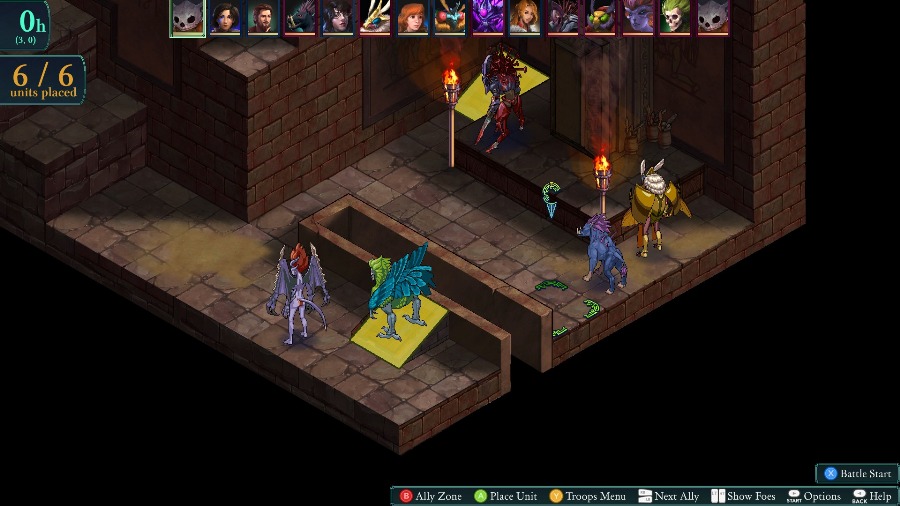
Now, there’s a reason that I had all of my units able to jump off the ledge to the side. That’s because this mission also has reinforcements, LOTS of reinforcements. As long as nothing’s on top of them, two random monsters will spawn from the doors shown above every round. It’s very, very easy to get overwhelmed by this constant flood of reinforcements, especially if you try and go the slow way and fight down the stairs. And even once you get there, Quarta will be massively buffed by all of the enemies that you’ve killed.
Instead, what I think is the best strategy is to just all out blitz her ASAP. If you can keep her MP down and limit the other enemies you kill, then it’s not too hard to keep you people up and take her out before things get too crazy.
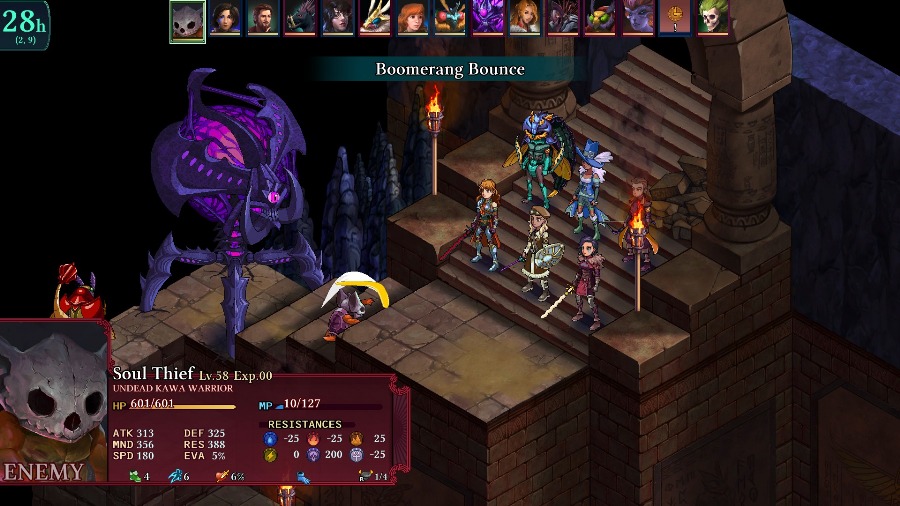
The fight itself starts off with an Undead Kawa throwing a boomerang at Anadine. I’m fine with this since it’ll boost her damage for later.
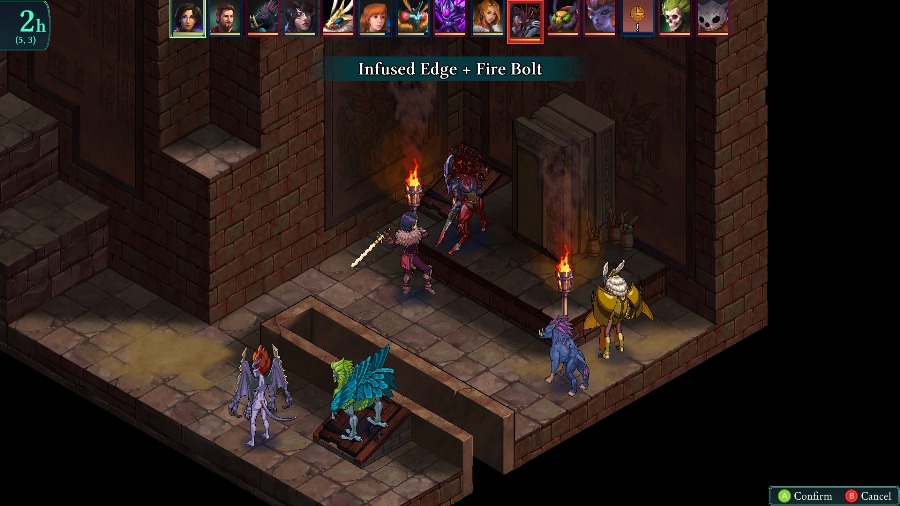
Instead of bothering with the Kawa, I just have Kyrie jump off the edge and nearly kill this Harvester. It hits hard enough that I really don’t want it sticking around.

Reiner jumps halfway down, landing on one of the outcroppings on the wall. He roots the Gyaum in place to keep it from going after Kyrie before anyone else can support her.
I have Azure jump down and weaken the Harvester but don’t kill it.
Quarta uses her turn to hurt Azure a little and Weaken her, but it’s not too big of a deal overall.
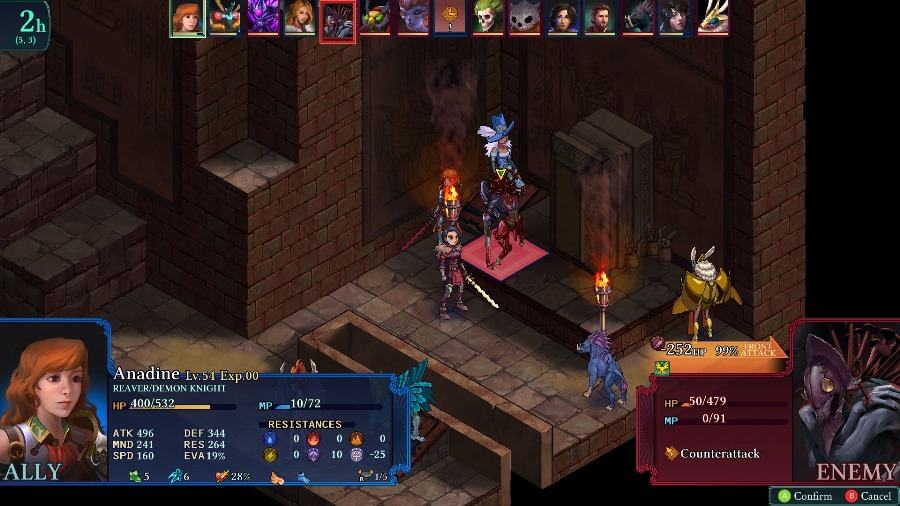
And then Anadine jumps down to kill the Harvester. Sadly, it has reraise so she does not get a second turn from Cleave. I’d forgotten about this restriction and was pretty disappointed.
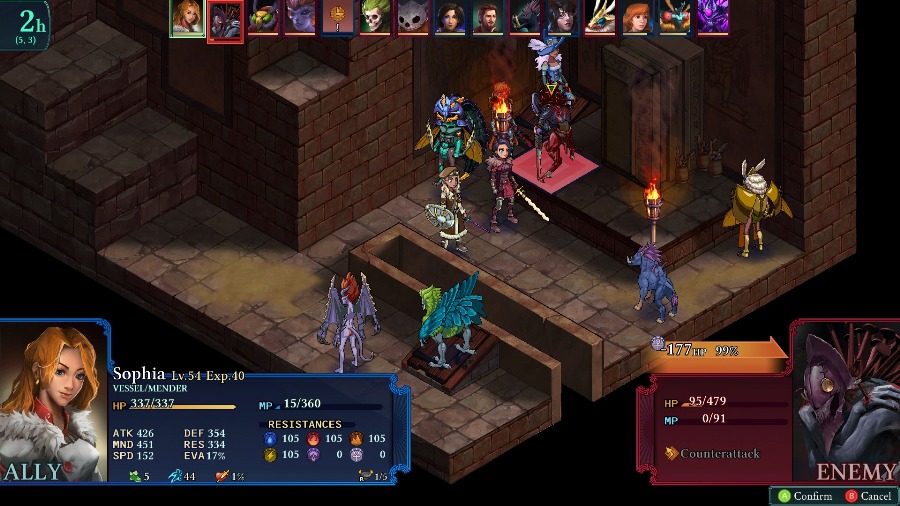
That said, on Sophia’s turn she jumps down as well and finishes it off for good.
The enemies up top sort of mill about and buff each other.

While the Domincubus and Seireen attempt to put people to sleep. Only Azure actually falls though.

Kyrie starts whaling on Quarta though some of the damage is wasted on her shield.
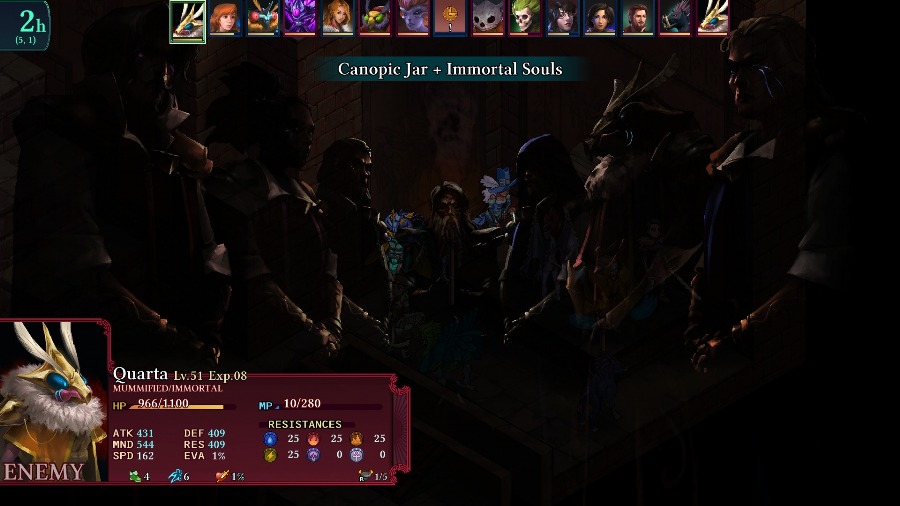
And Quarta quickly retaliates by annihilating Azure and nearly killing both Anadine and Bzaro with a lucky Canopic Jar. Anadine gets taken out right afterwards by the Domincubus.
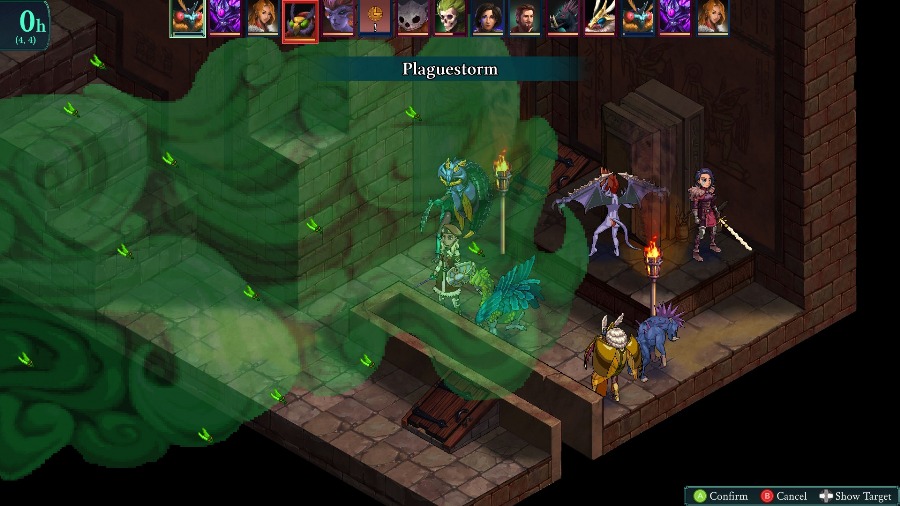
Bzaro’s going to die, so I just have him Plaguestorm to maybe mess with some of the enemies and knock out Quarta’s shield again.
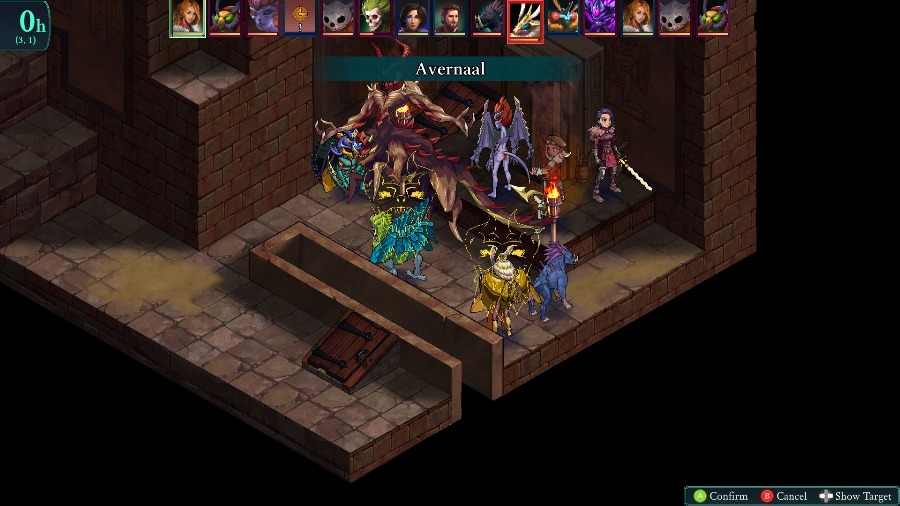
While the Aeoth keeps aiming barrages in the very narrow bottom, Sophia keeps the pressure up with an Avernaal.
And we also get our first round of reinforcements, this time its just a Mananggal (god I hate typing that name) and an Undead Kawa Warrior.
Kyrie and Reiner keep whittling Quarta down.
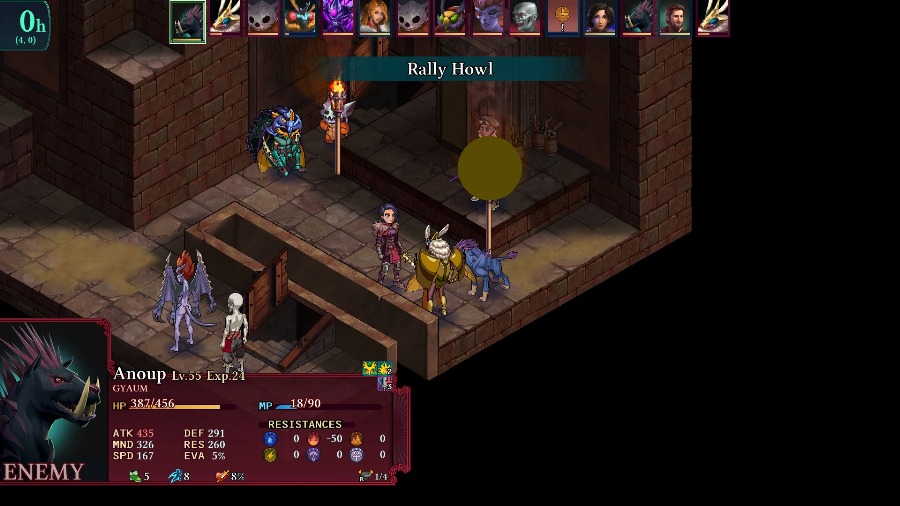
And then the Gyaum is very annoying and buffs Quarta with both an attack increase and haste! (!!)

Quarta uses this buff to kill Bzaro and heal herself for about 80 HP.
Thankfully, instead of continuing to attack my units, Quarta decides to summon a Harvester instead.
My units are falling fast, but I still try and keep hurting Quarta to burst her down.
A bunch of enemies keep attacking me and the Gyaum keeps supporting Quarta with heals.
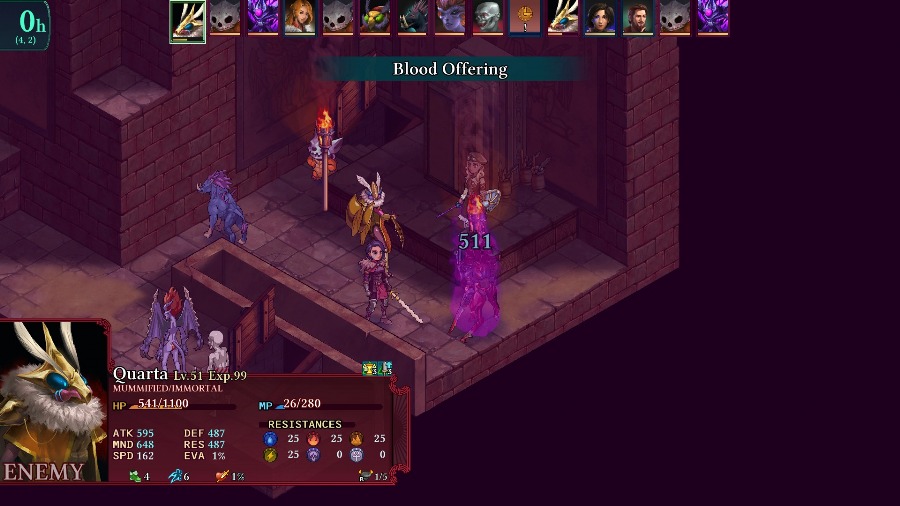
And Quarta keeps on healing by stealing some HP from Kyrie.
While Kyrie keeps on fighting.

I have Reiner revive Anadine since she can use her low health to put out huge damage.
Which does do, taking out 2/3 of Quarta’s remaining health in one hit.
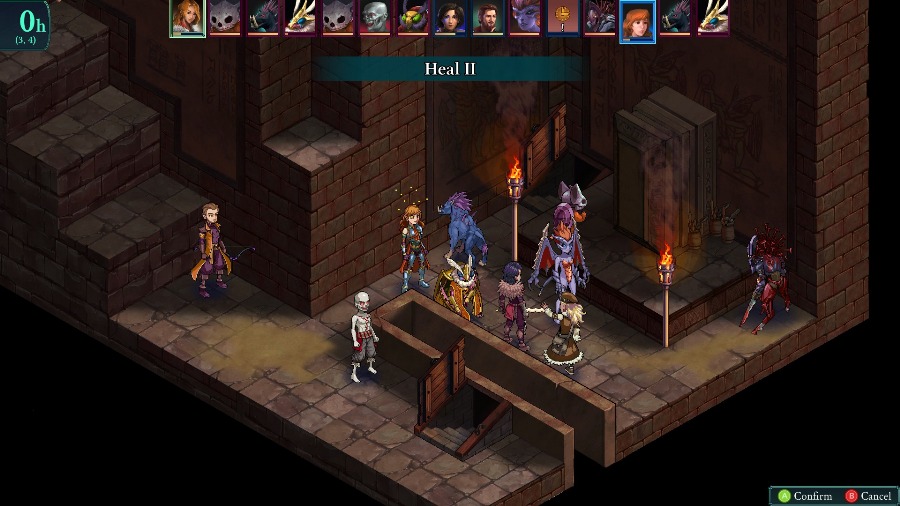
Sophia heals her up a bit, hopefully to keep her alive for a round.

Quarta keeps summoning demons, which I am very okay with her doing instead of attacking me.
While Reiner gets swarmed by enemies in the corner.
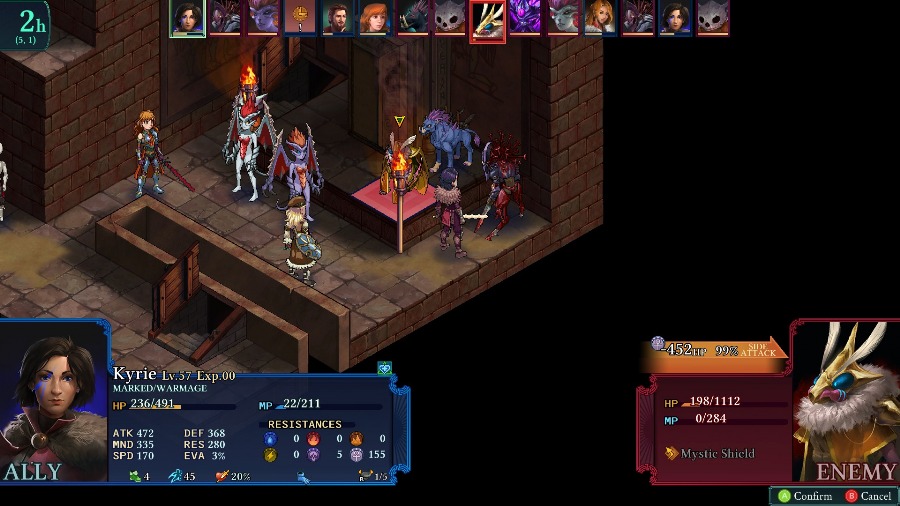
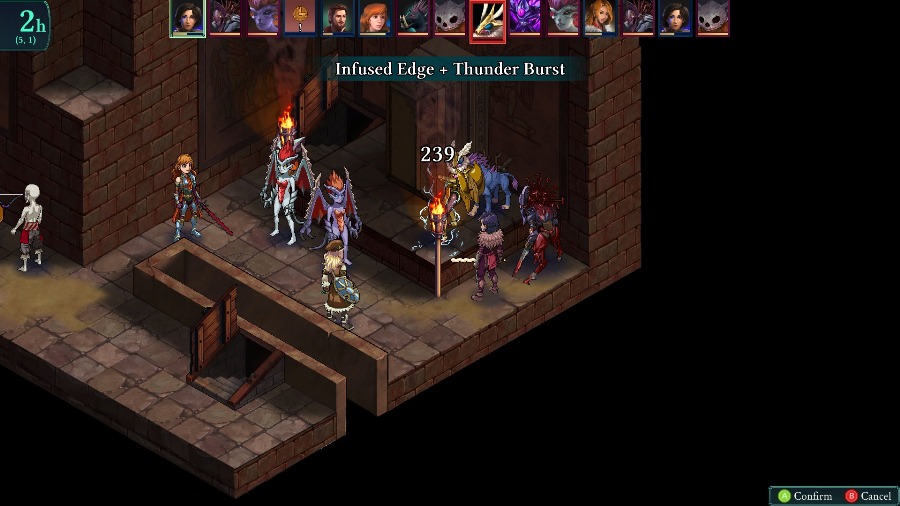
And Kyrie’s able to take out Quarta on the following turn.
Overall, this fight is interesting but, like a lot of the Kill Boss missions, I think it’s a bit hamstrung by the best strategy being to just rush the boss. That’s especially true for this one, where you can’t escape the boss’s attacks and constant reinforcements are pushing in. I like the map design, especially the idea that the player hypothetically has a choice of going by the stairs or jumping down, but in my experience going the other way and trying to fight your way down the stairs just results in getting overwhelmed. Still, even though I felt pushed into the blitz it was a fun fight to play and definitely felt like I was barely pulling things off the entire time.
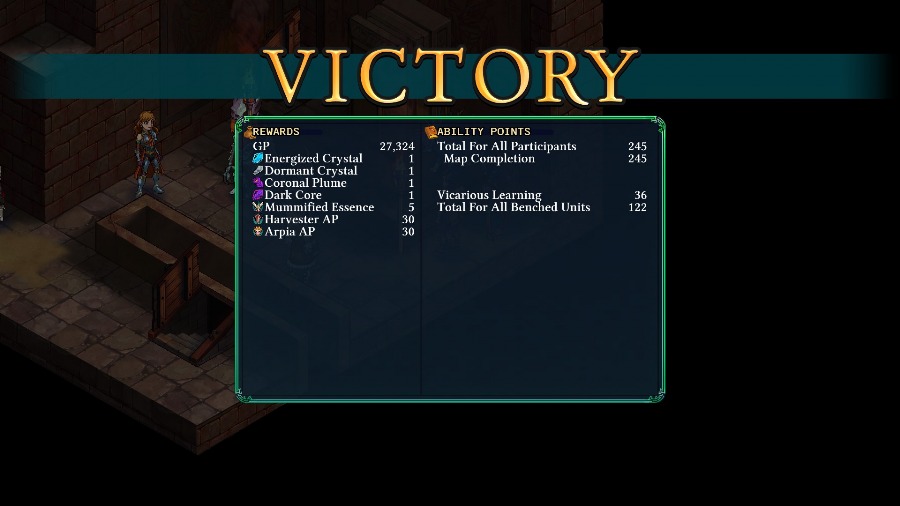
Sadly, there’s no dialogue after the, we just pop to the victory screen and then back to the world map.
For rewards, we get a number of high tier crafting materials. But the real reward for the final battle is
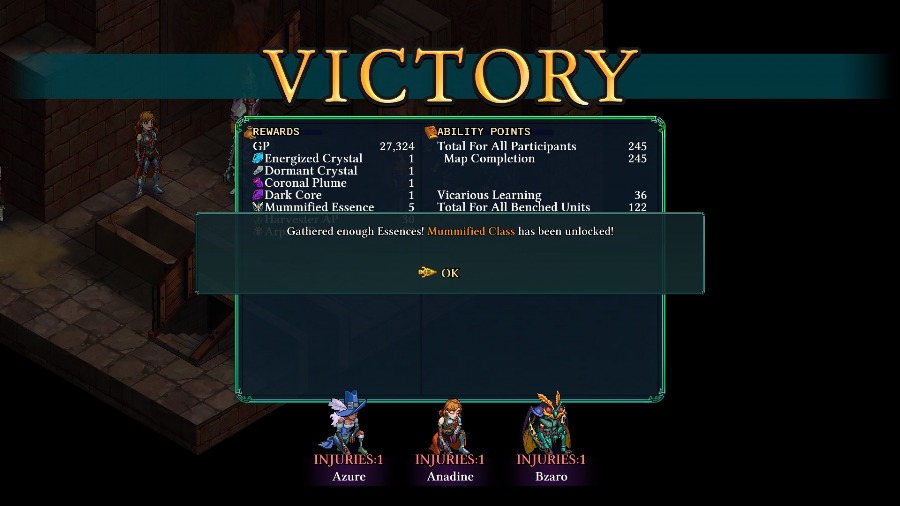
A brand-new class for Bzaro! It’s the same one that Quarta has, but I’ll go over it again in depth right after this update.
And after that, it’s time to return to the Teratoma for the final battle!